From Graph Paper to Gingerbread
What’s the best way to make a gingerbread house? If you’re most people, you draw something freehand, or maybe cut a pattern out of cardboard. But in our house, the answer obviously is to draw blueprints that get translated into mathematically precise 3D-printed cookie cutters! It worked so well that this ended up being the first of many similar cookie-cutter projects.
It all started with these blueprints that Liesl drew. Drawing them on graph paper made it easy to ensure that everything was symmetrical and that mating surfaces matched.
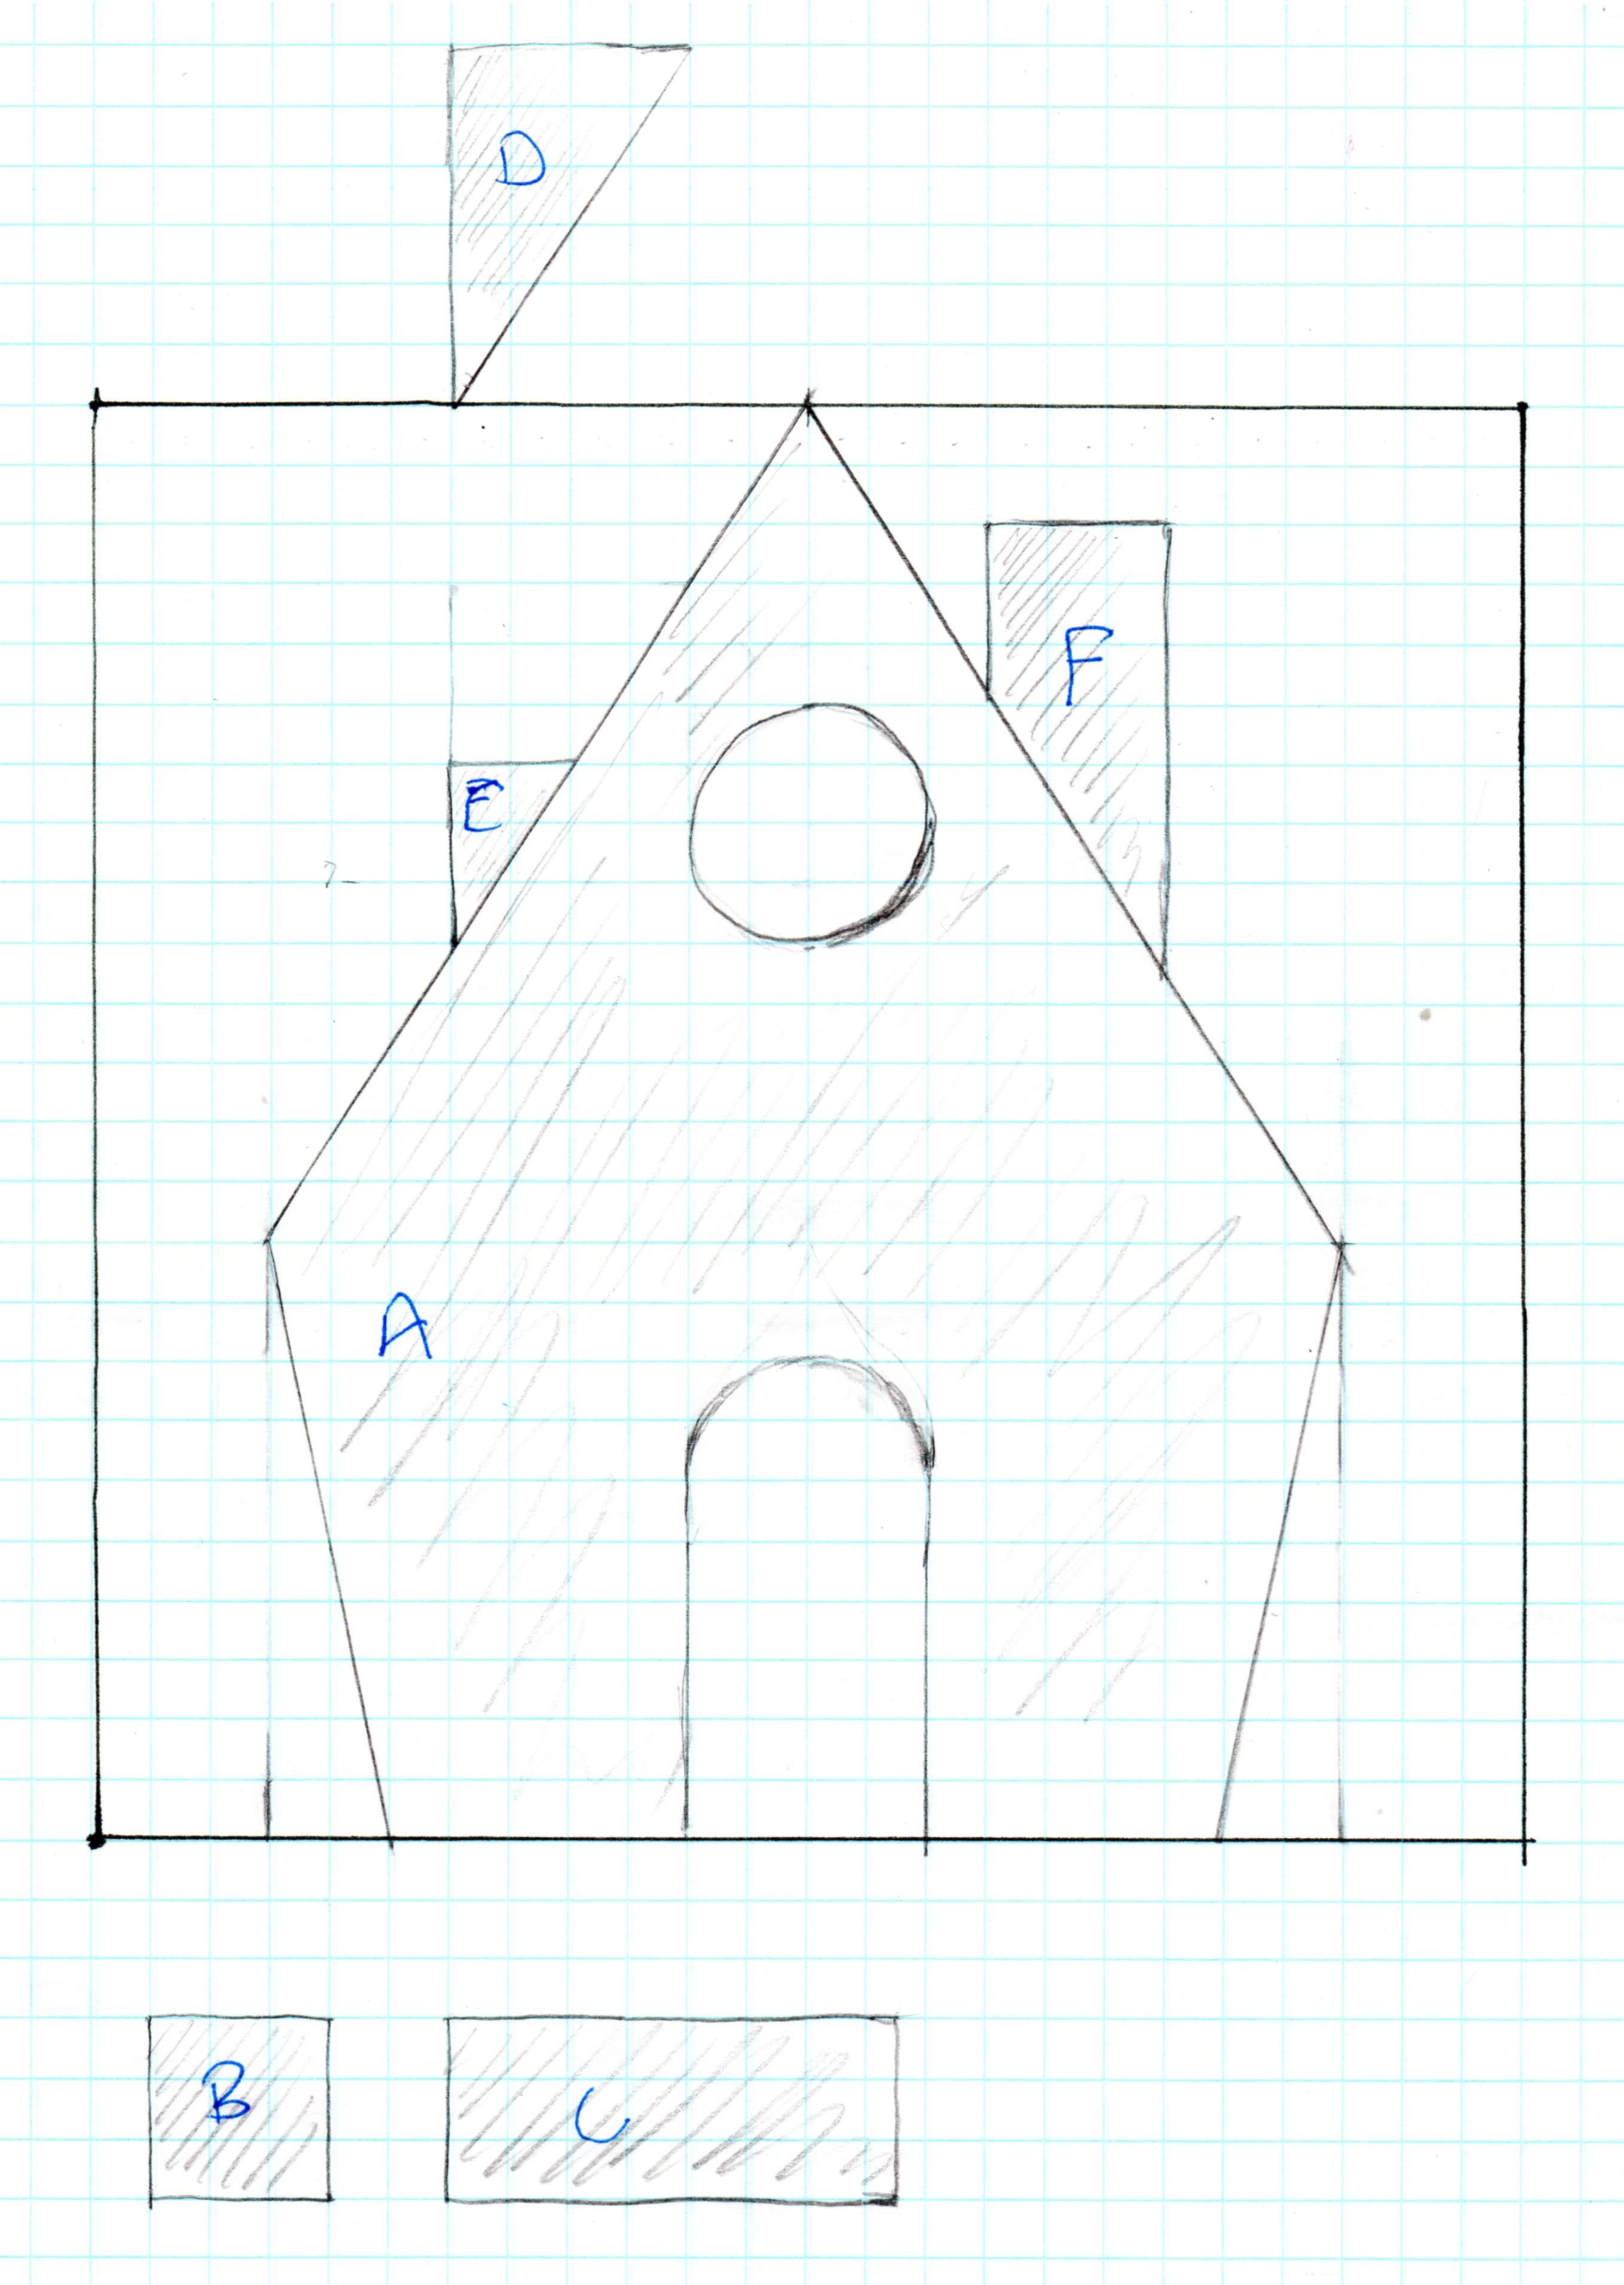
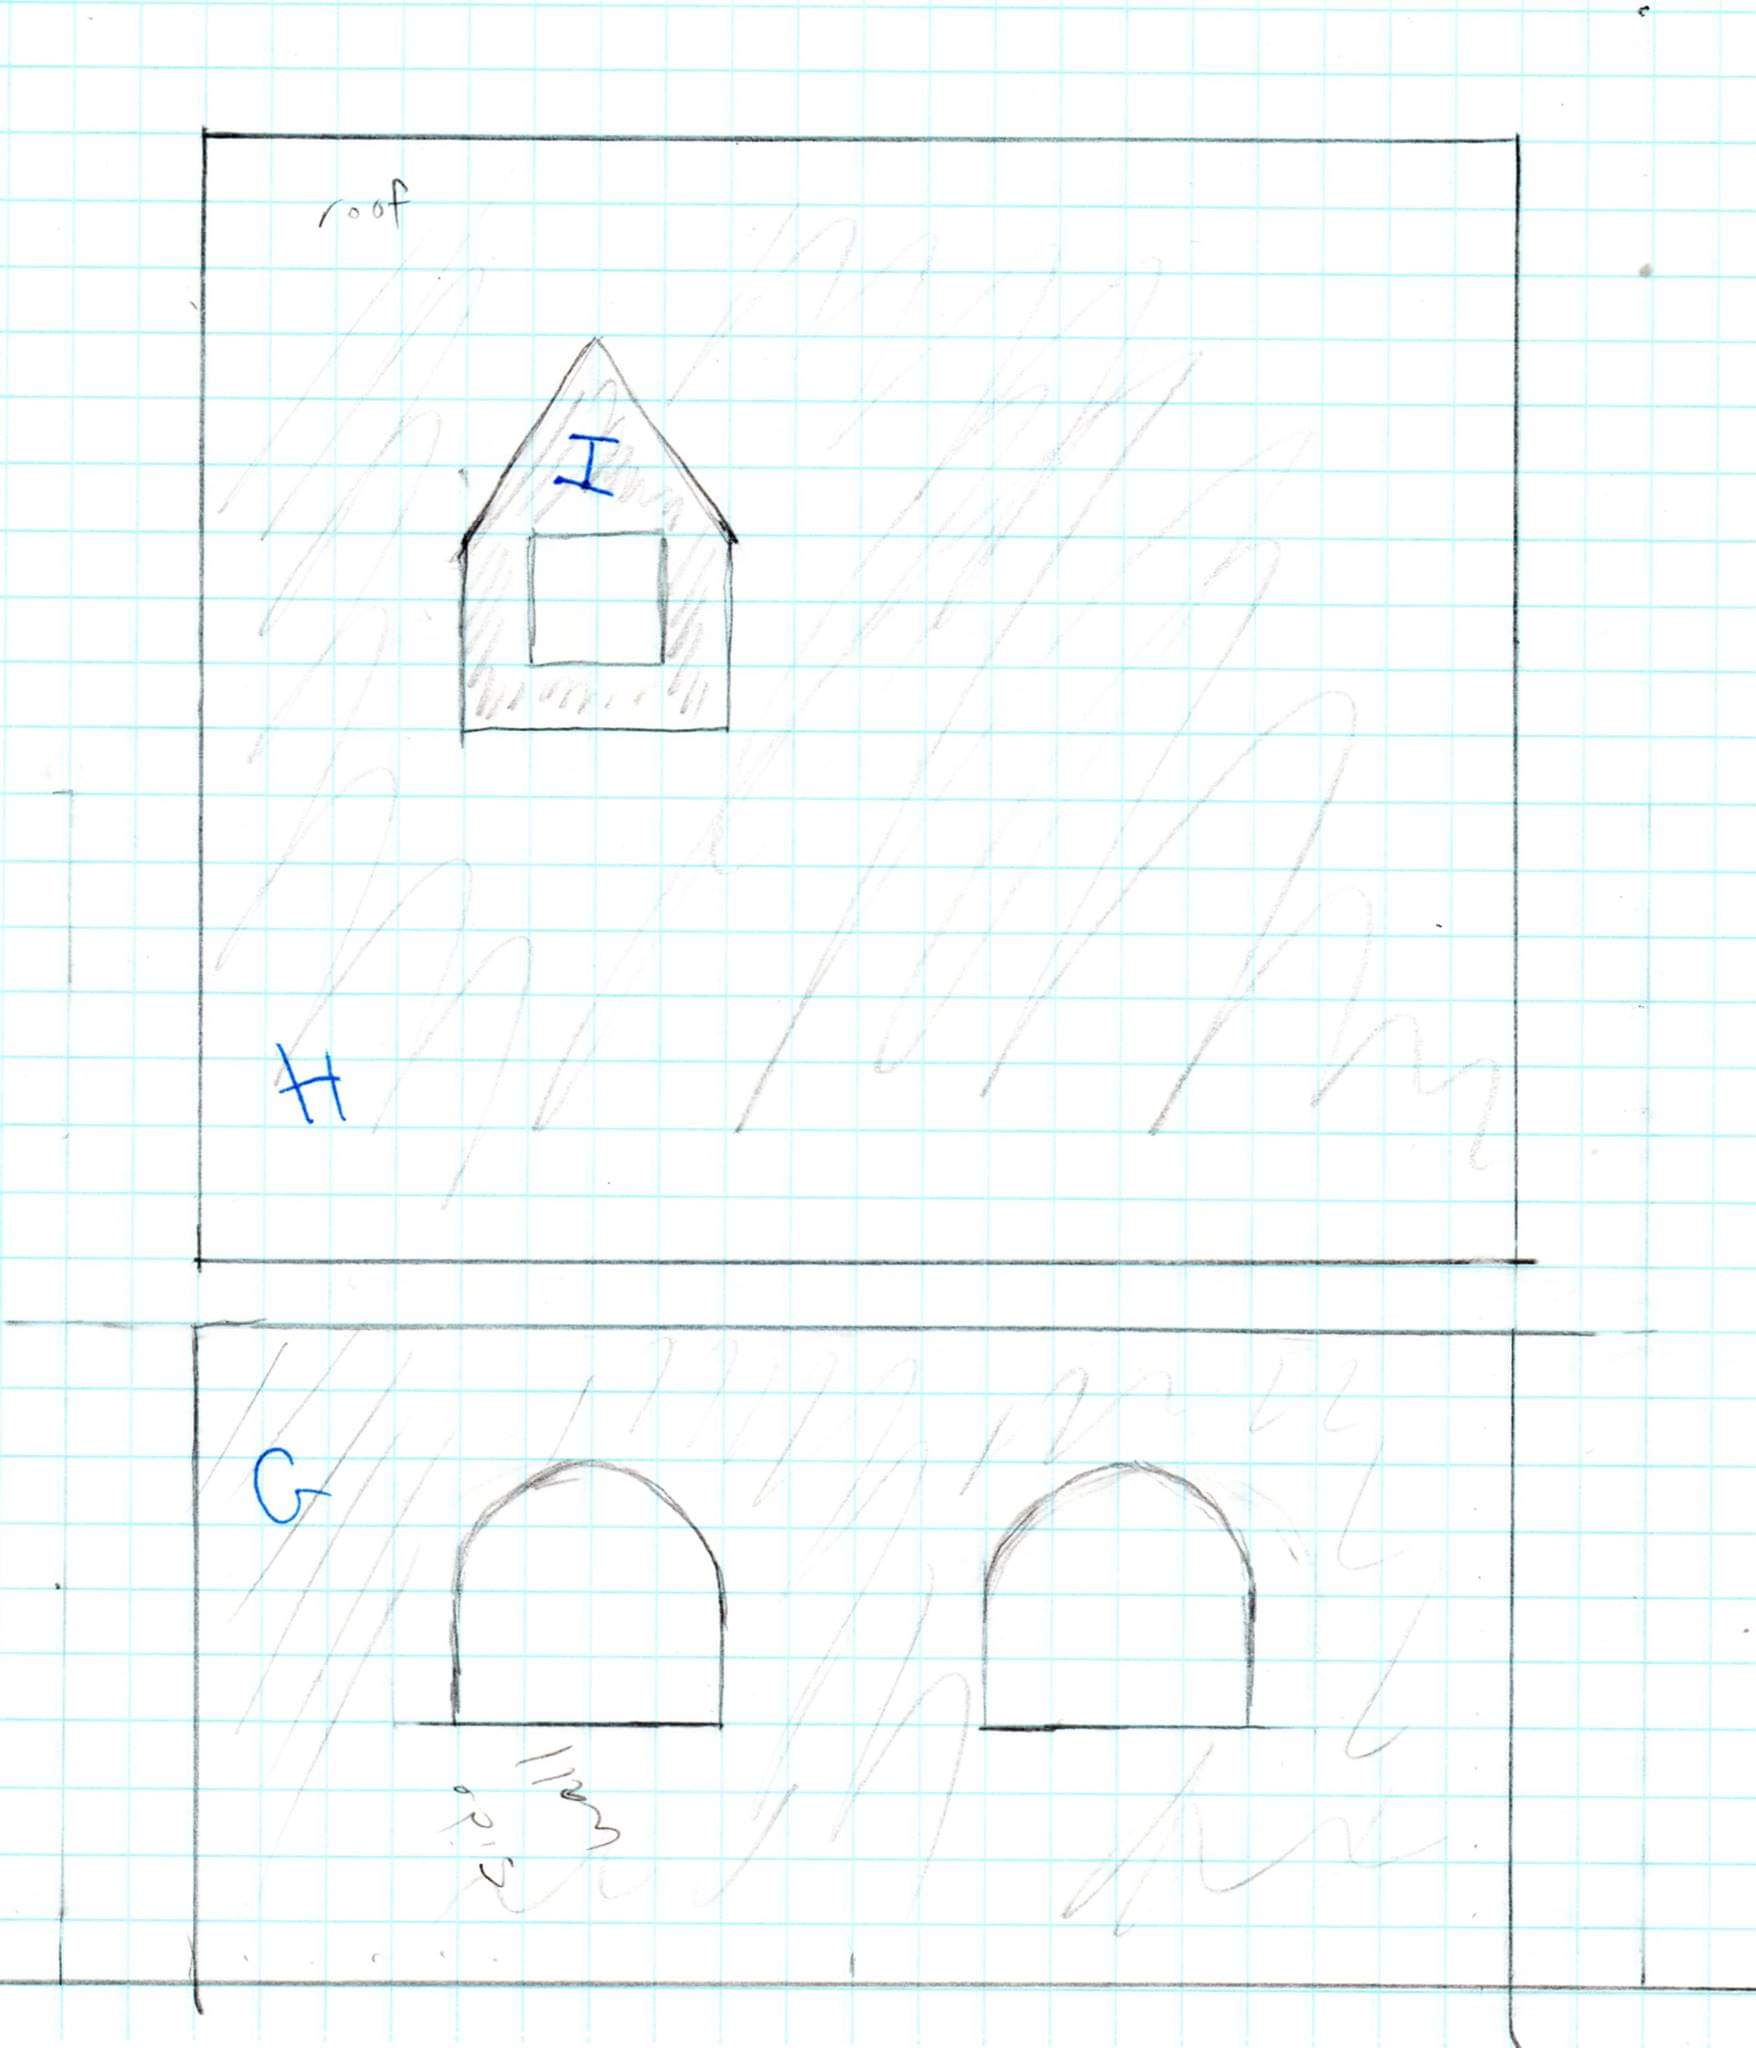
Using FreeCAD, I translated each of Liesl’s drawings into a sketch. For simple parts that were just an outline, this was straightforward. Parts that had interior structure, such as windows, required me to manually add supports so that the cookie cutter would be a single piece.
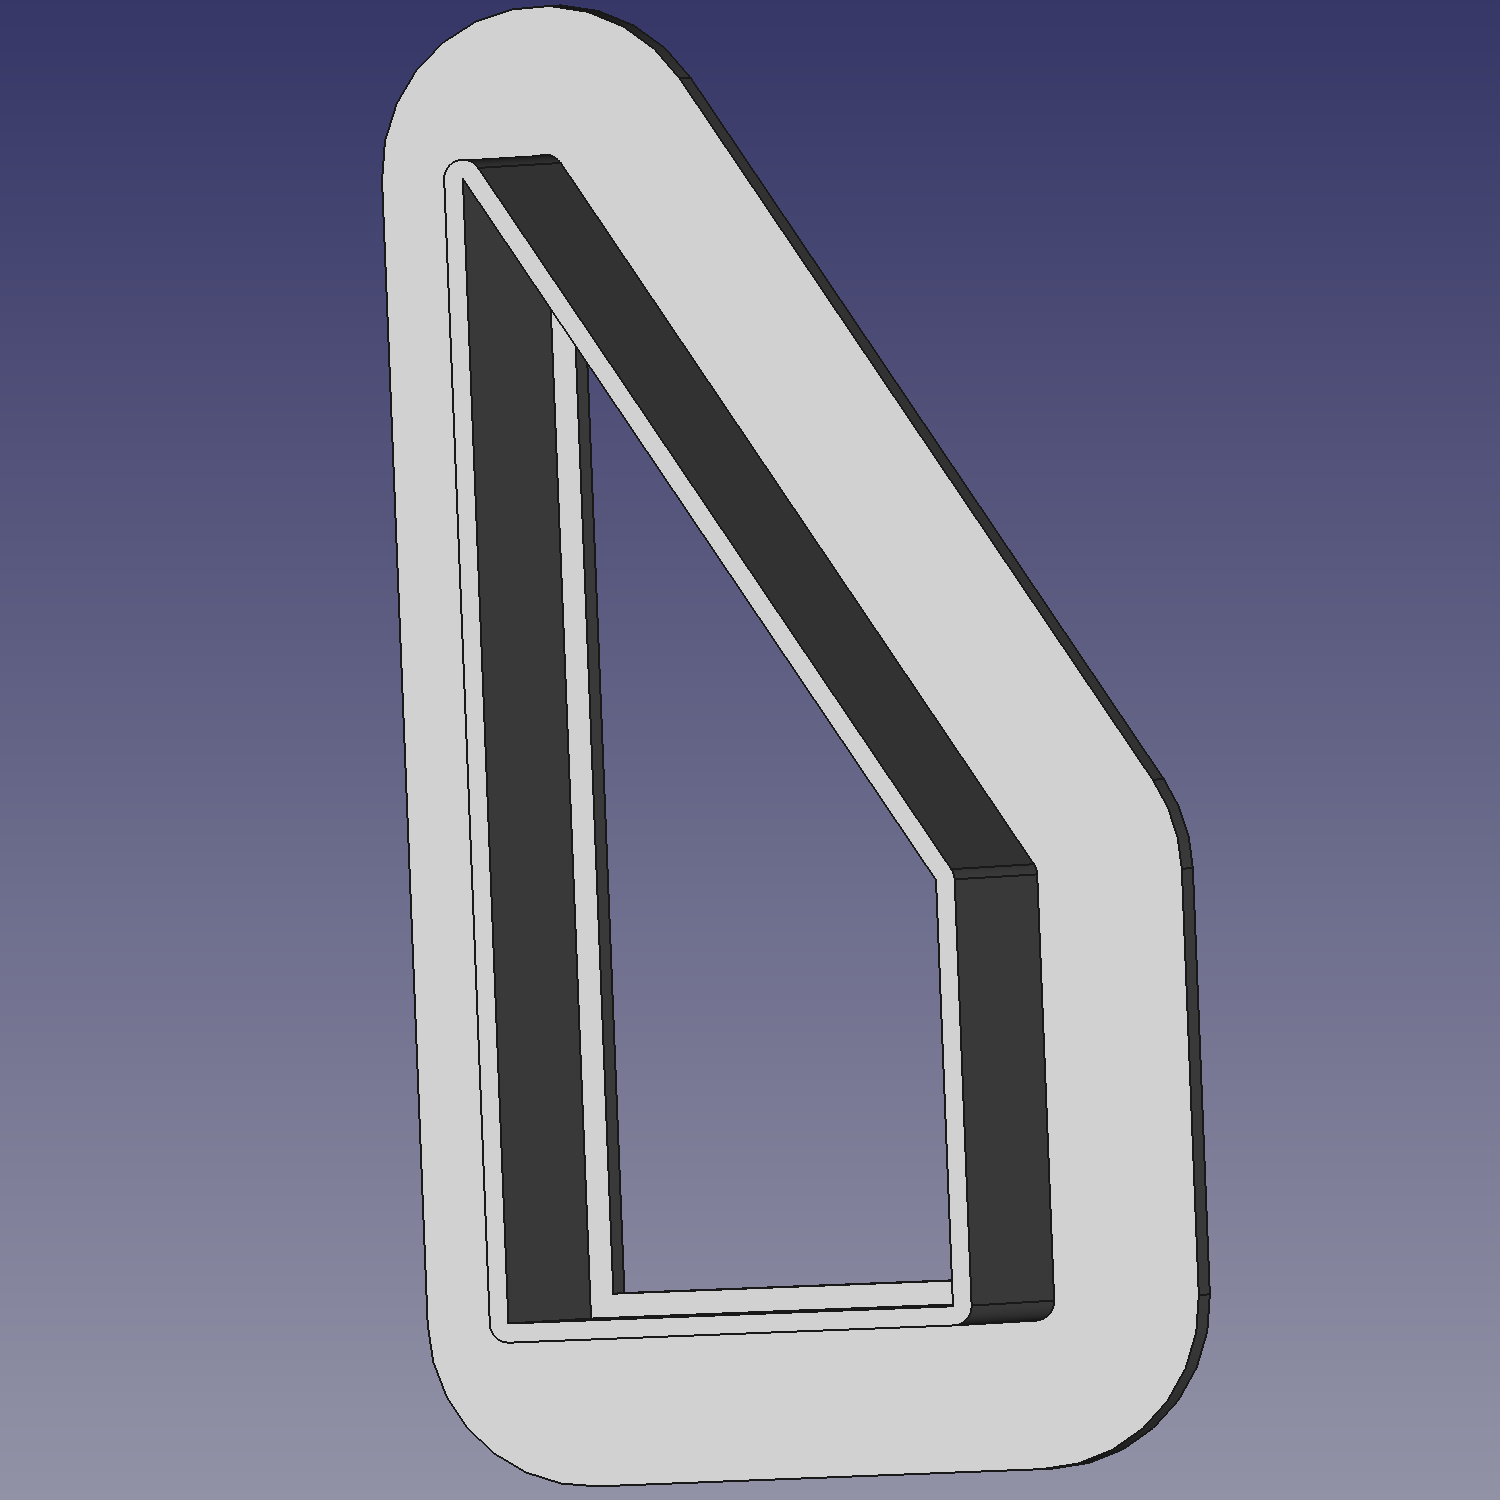
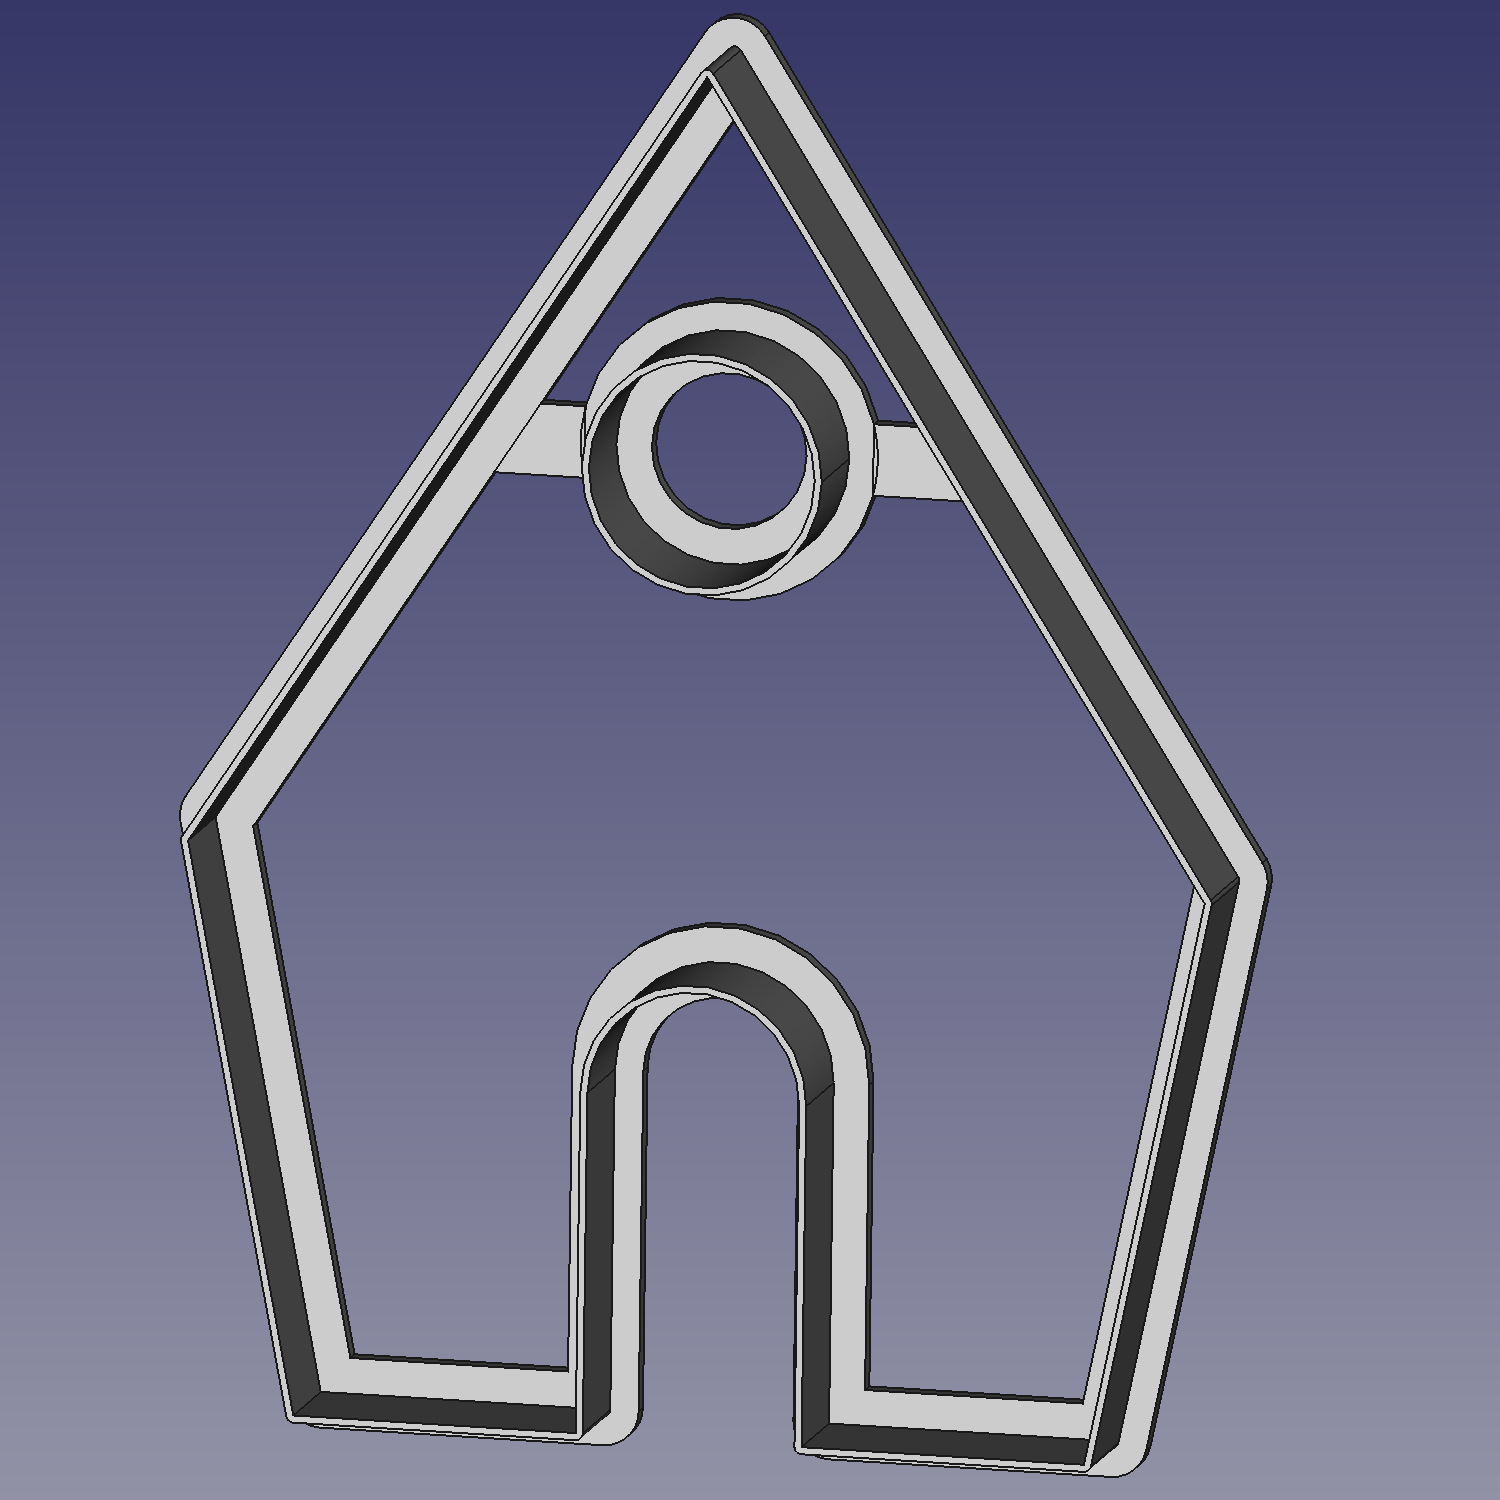
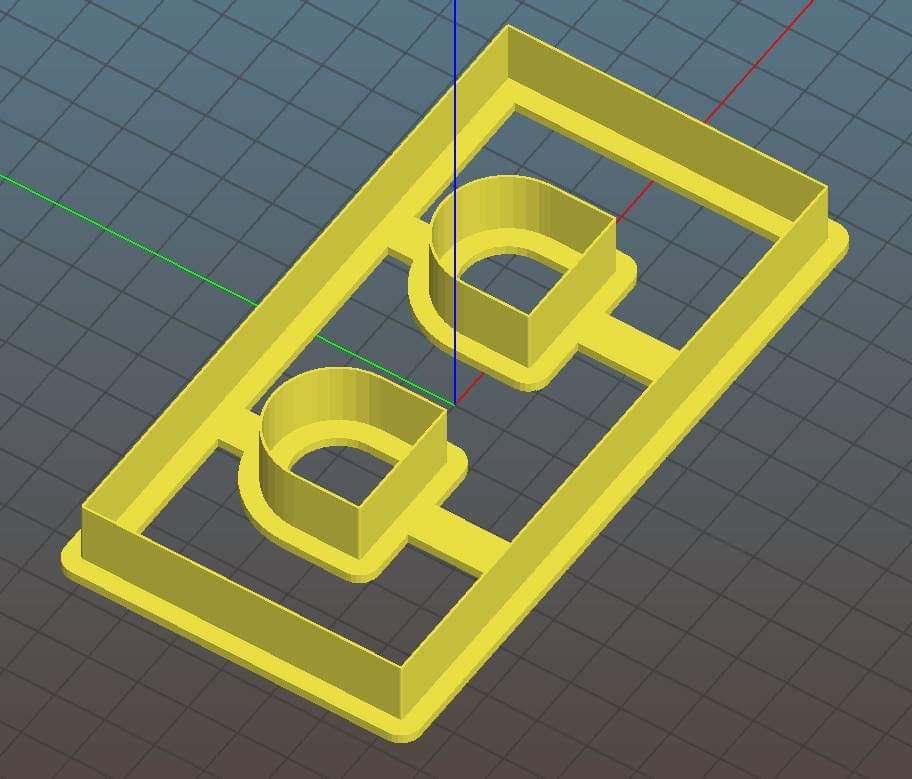
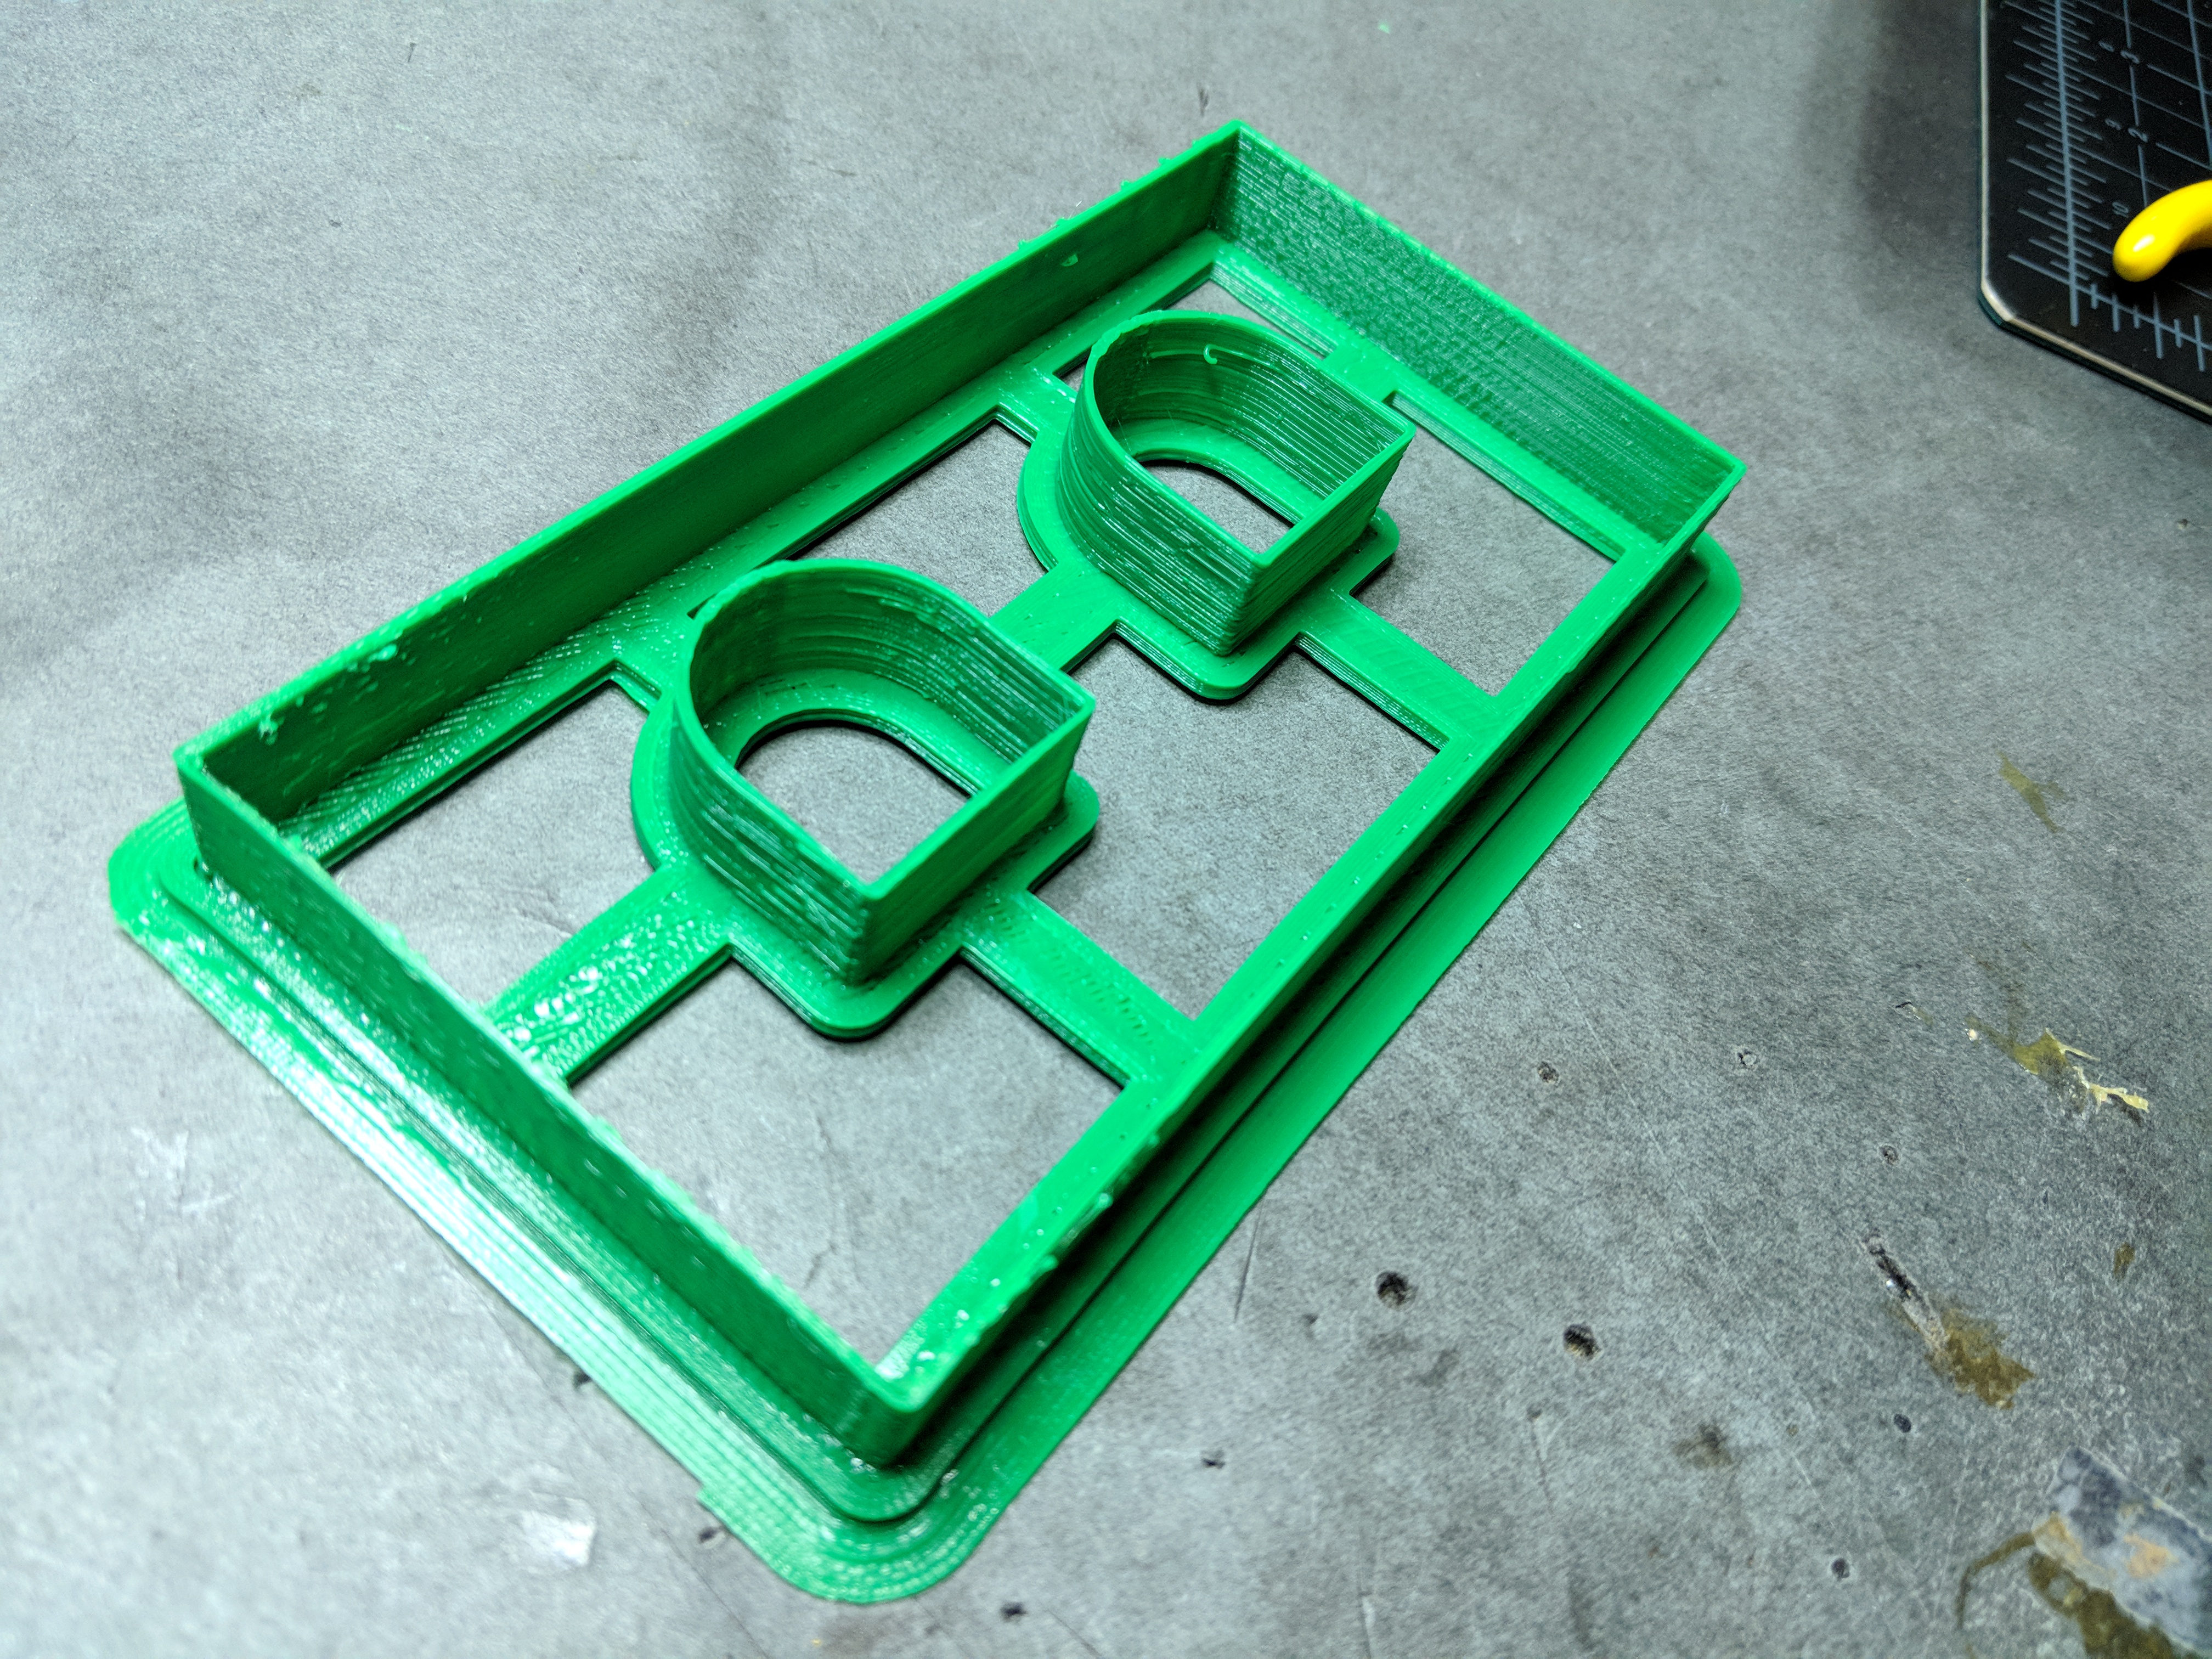
Next, I had to convert each two-dimensional sketch into a three-dimensional structure. This meant extruding a narrow version of the sketch 15mm downward into a blade, and a wide version of the sketch a couple millimeters downward for a finger-friendly base. I did a test print and was pleased with the result!
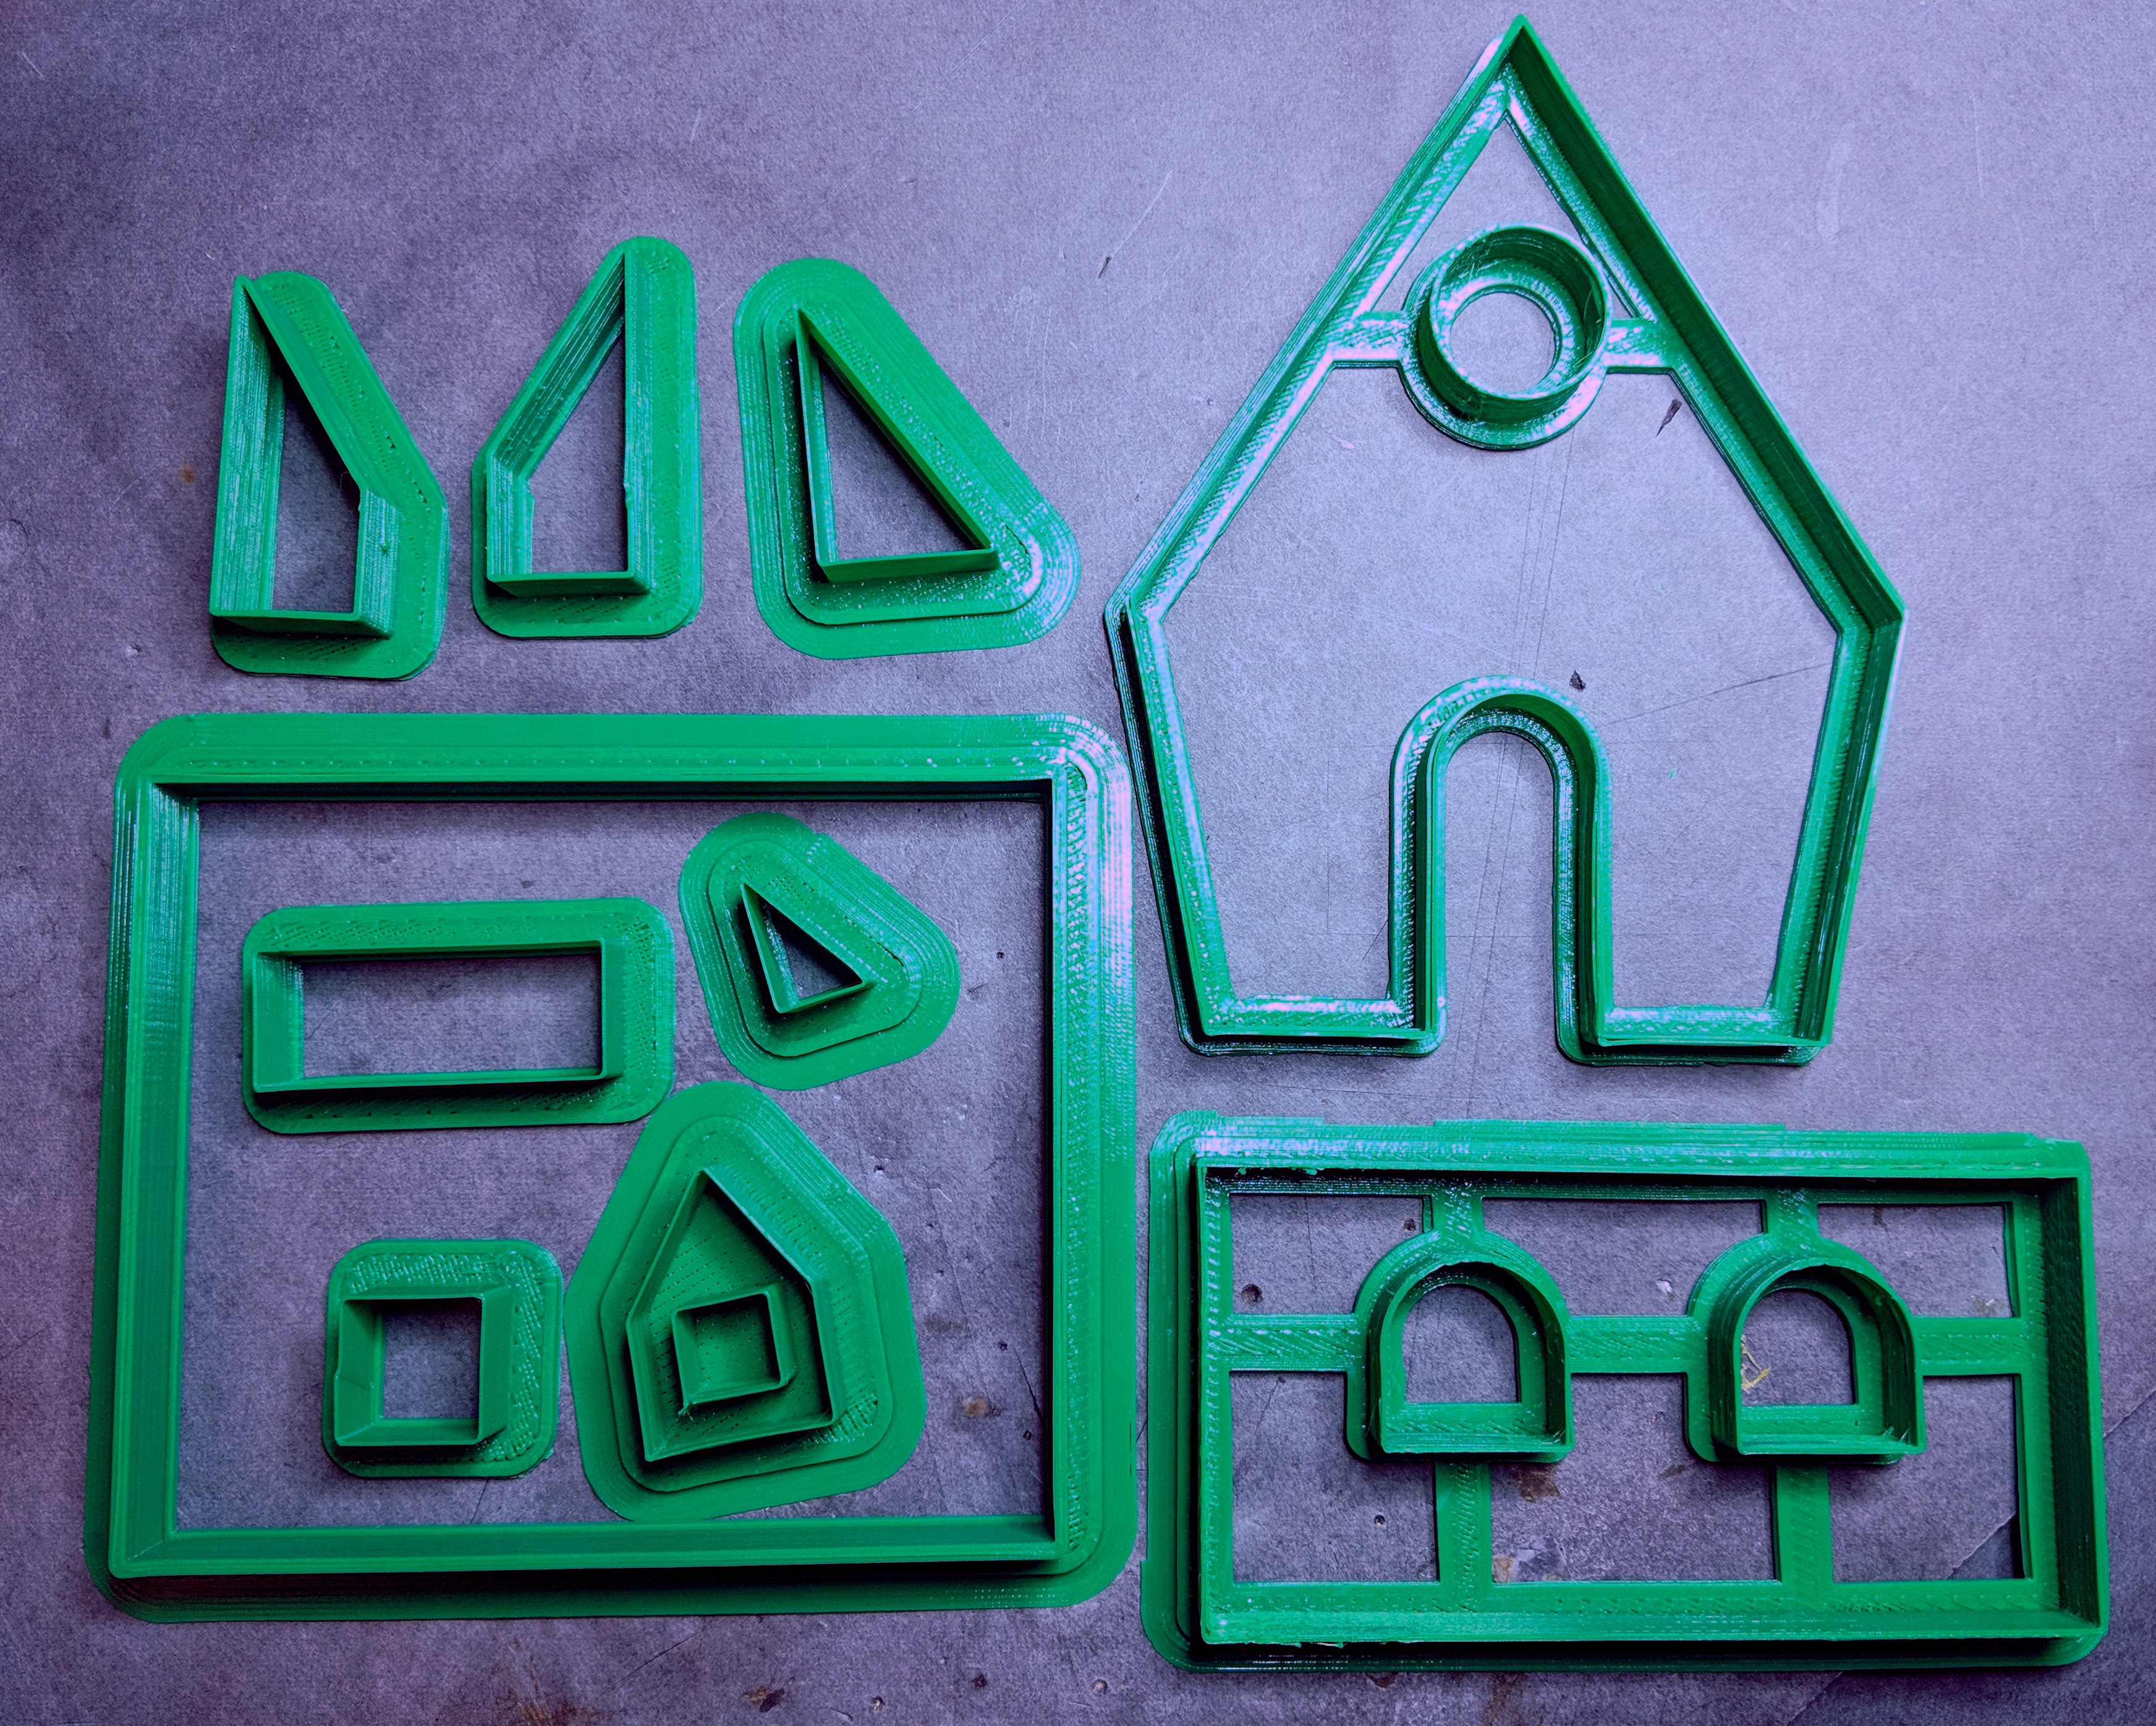
After some experimentation, I found a relatively automated way to convert a base sketch into a completed cookie cutter. (If you’re interested in reusing my method, detailed instructions are below.) After a few more hours of drawing and printing, we had the complete set of cookie cutters!
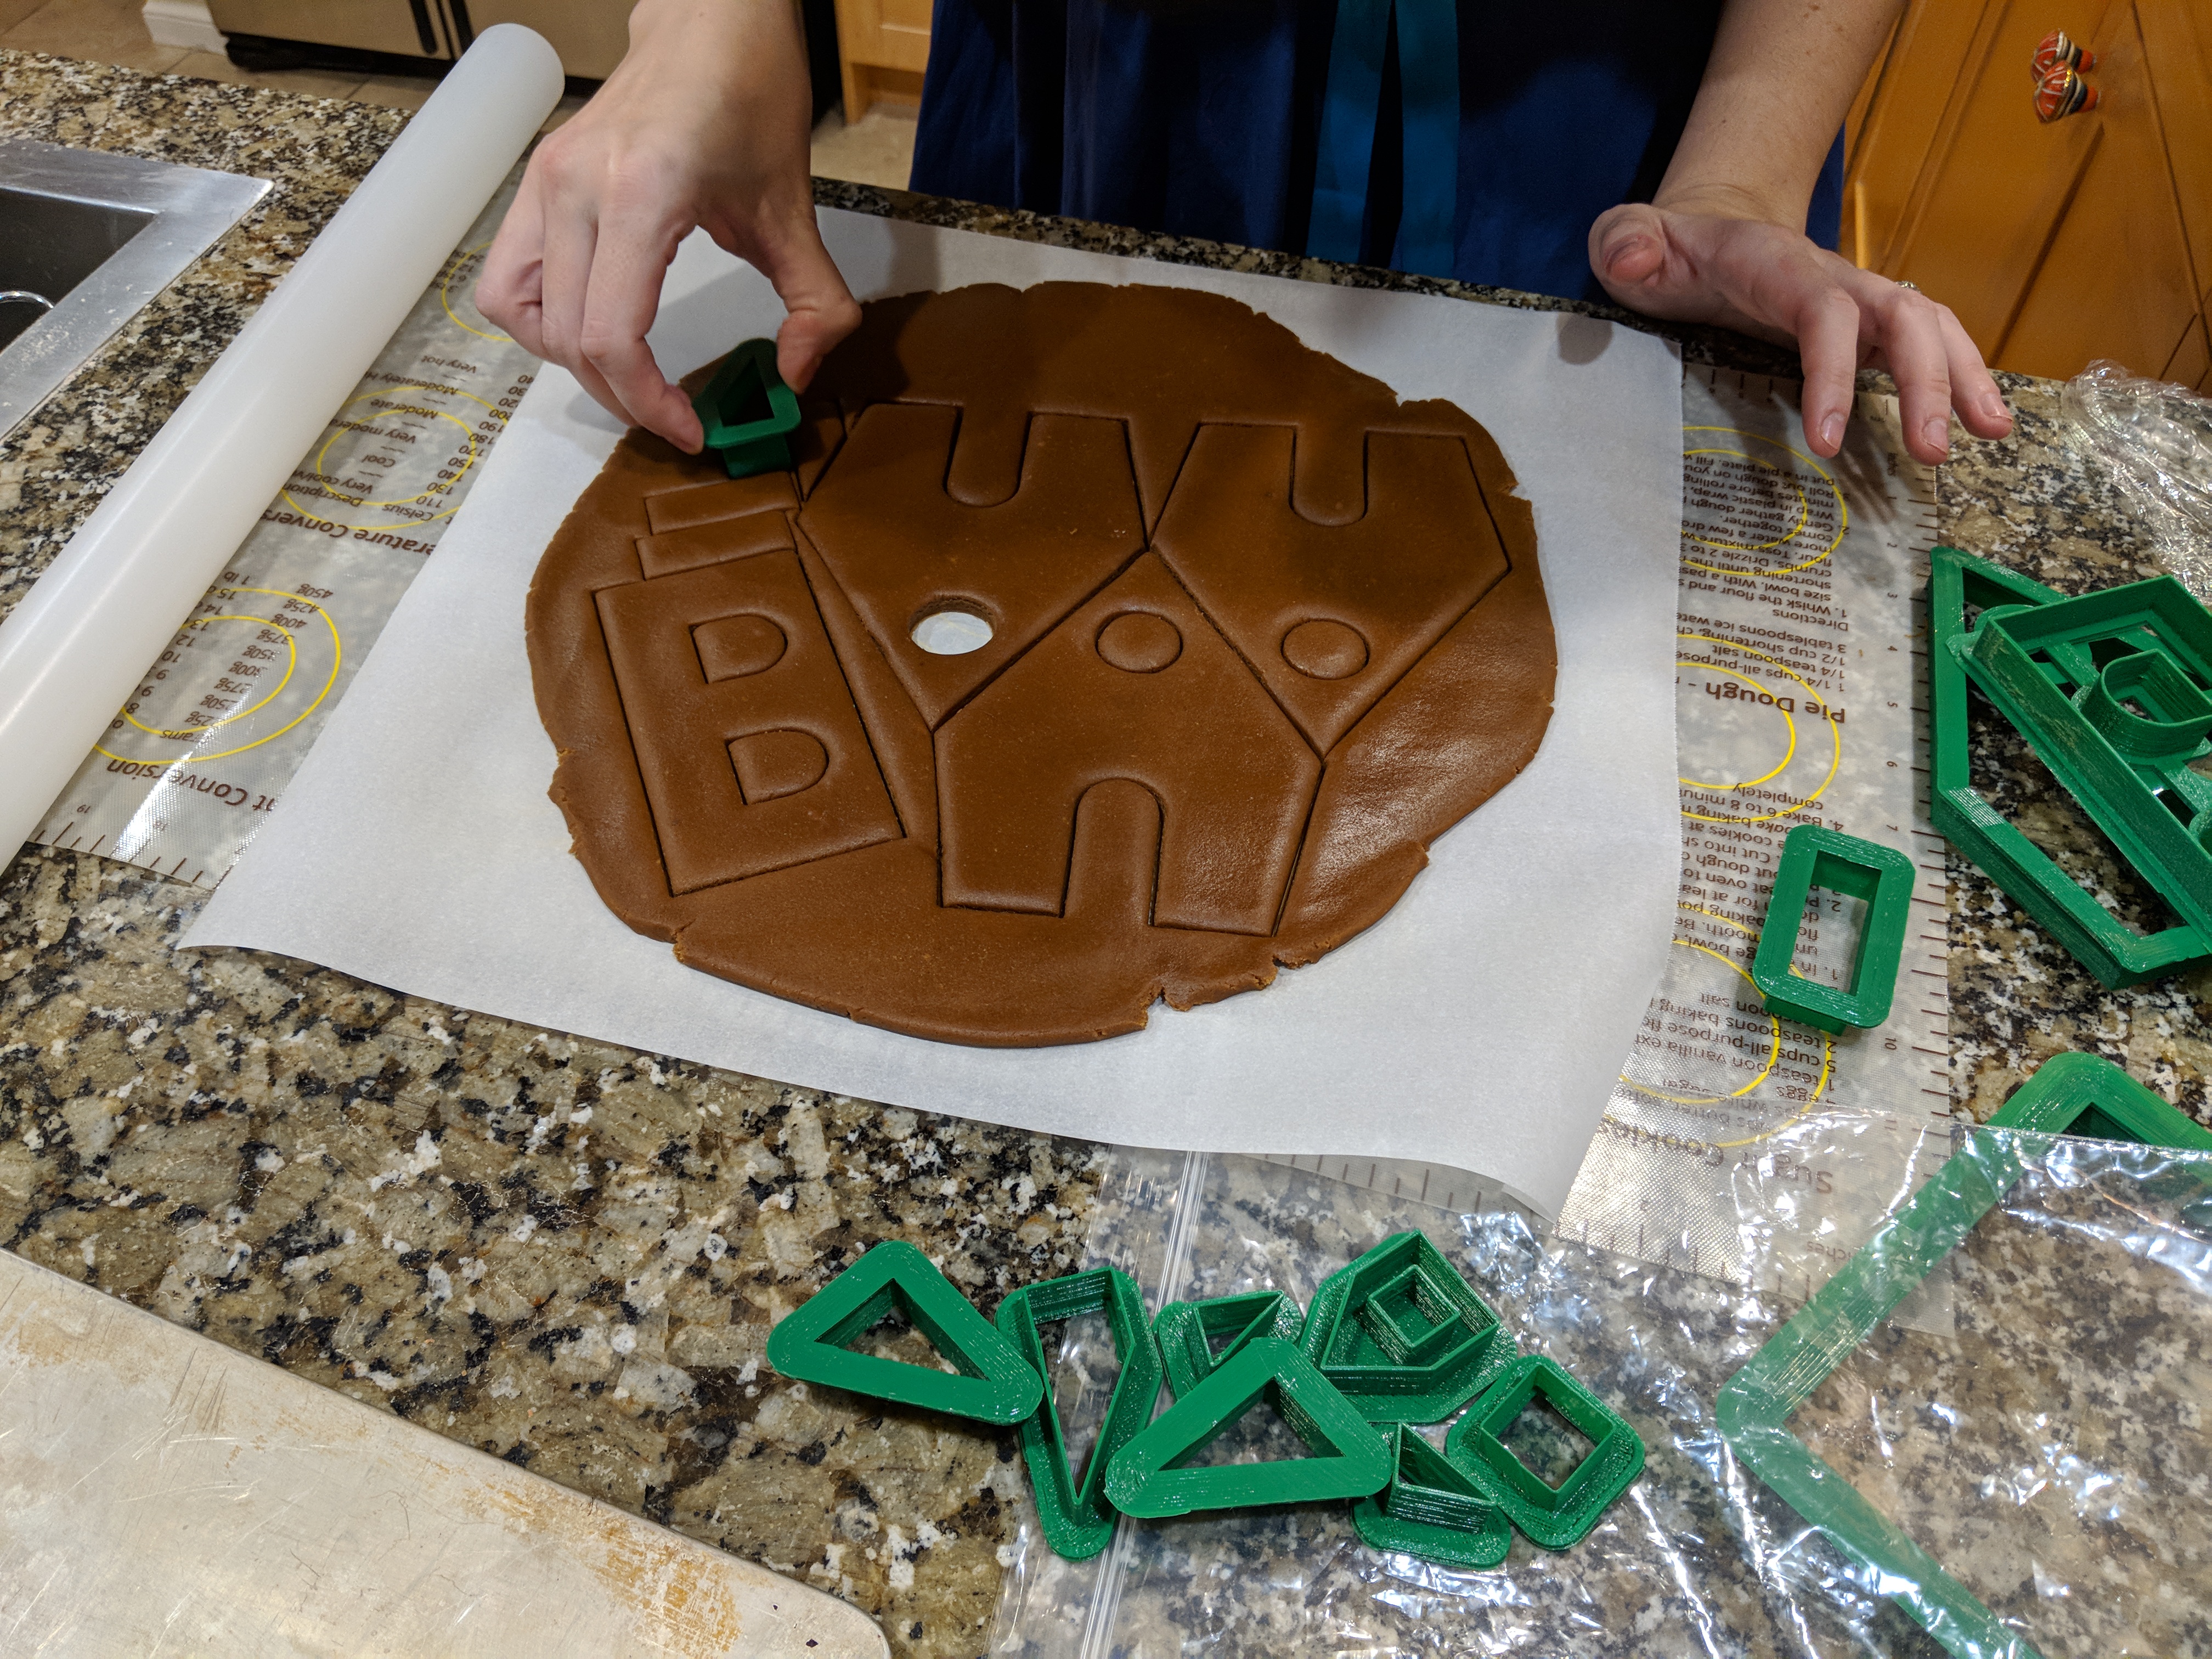
Once all the cutters were printed, it was Liesl’s turn to take over again. She made a batch of gingerbread dough, used the cutters to divide it into the right shapes, and baked it.
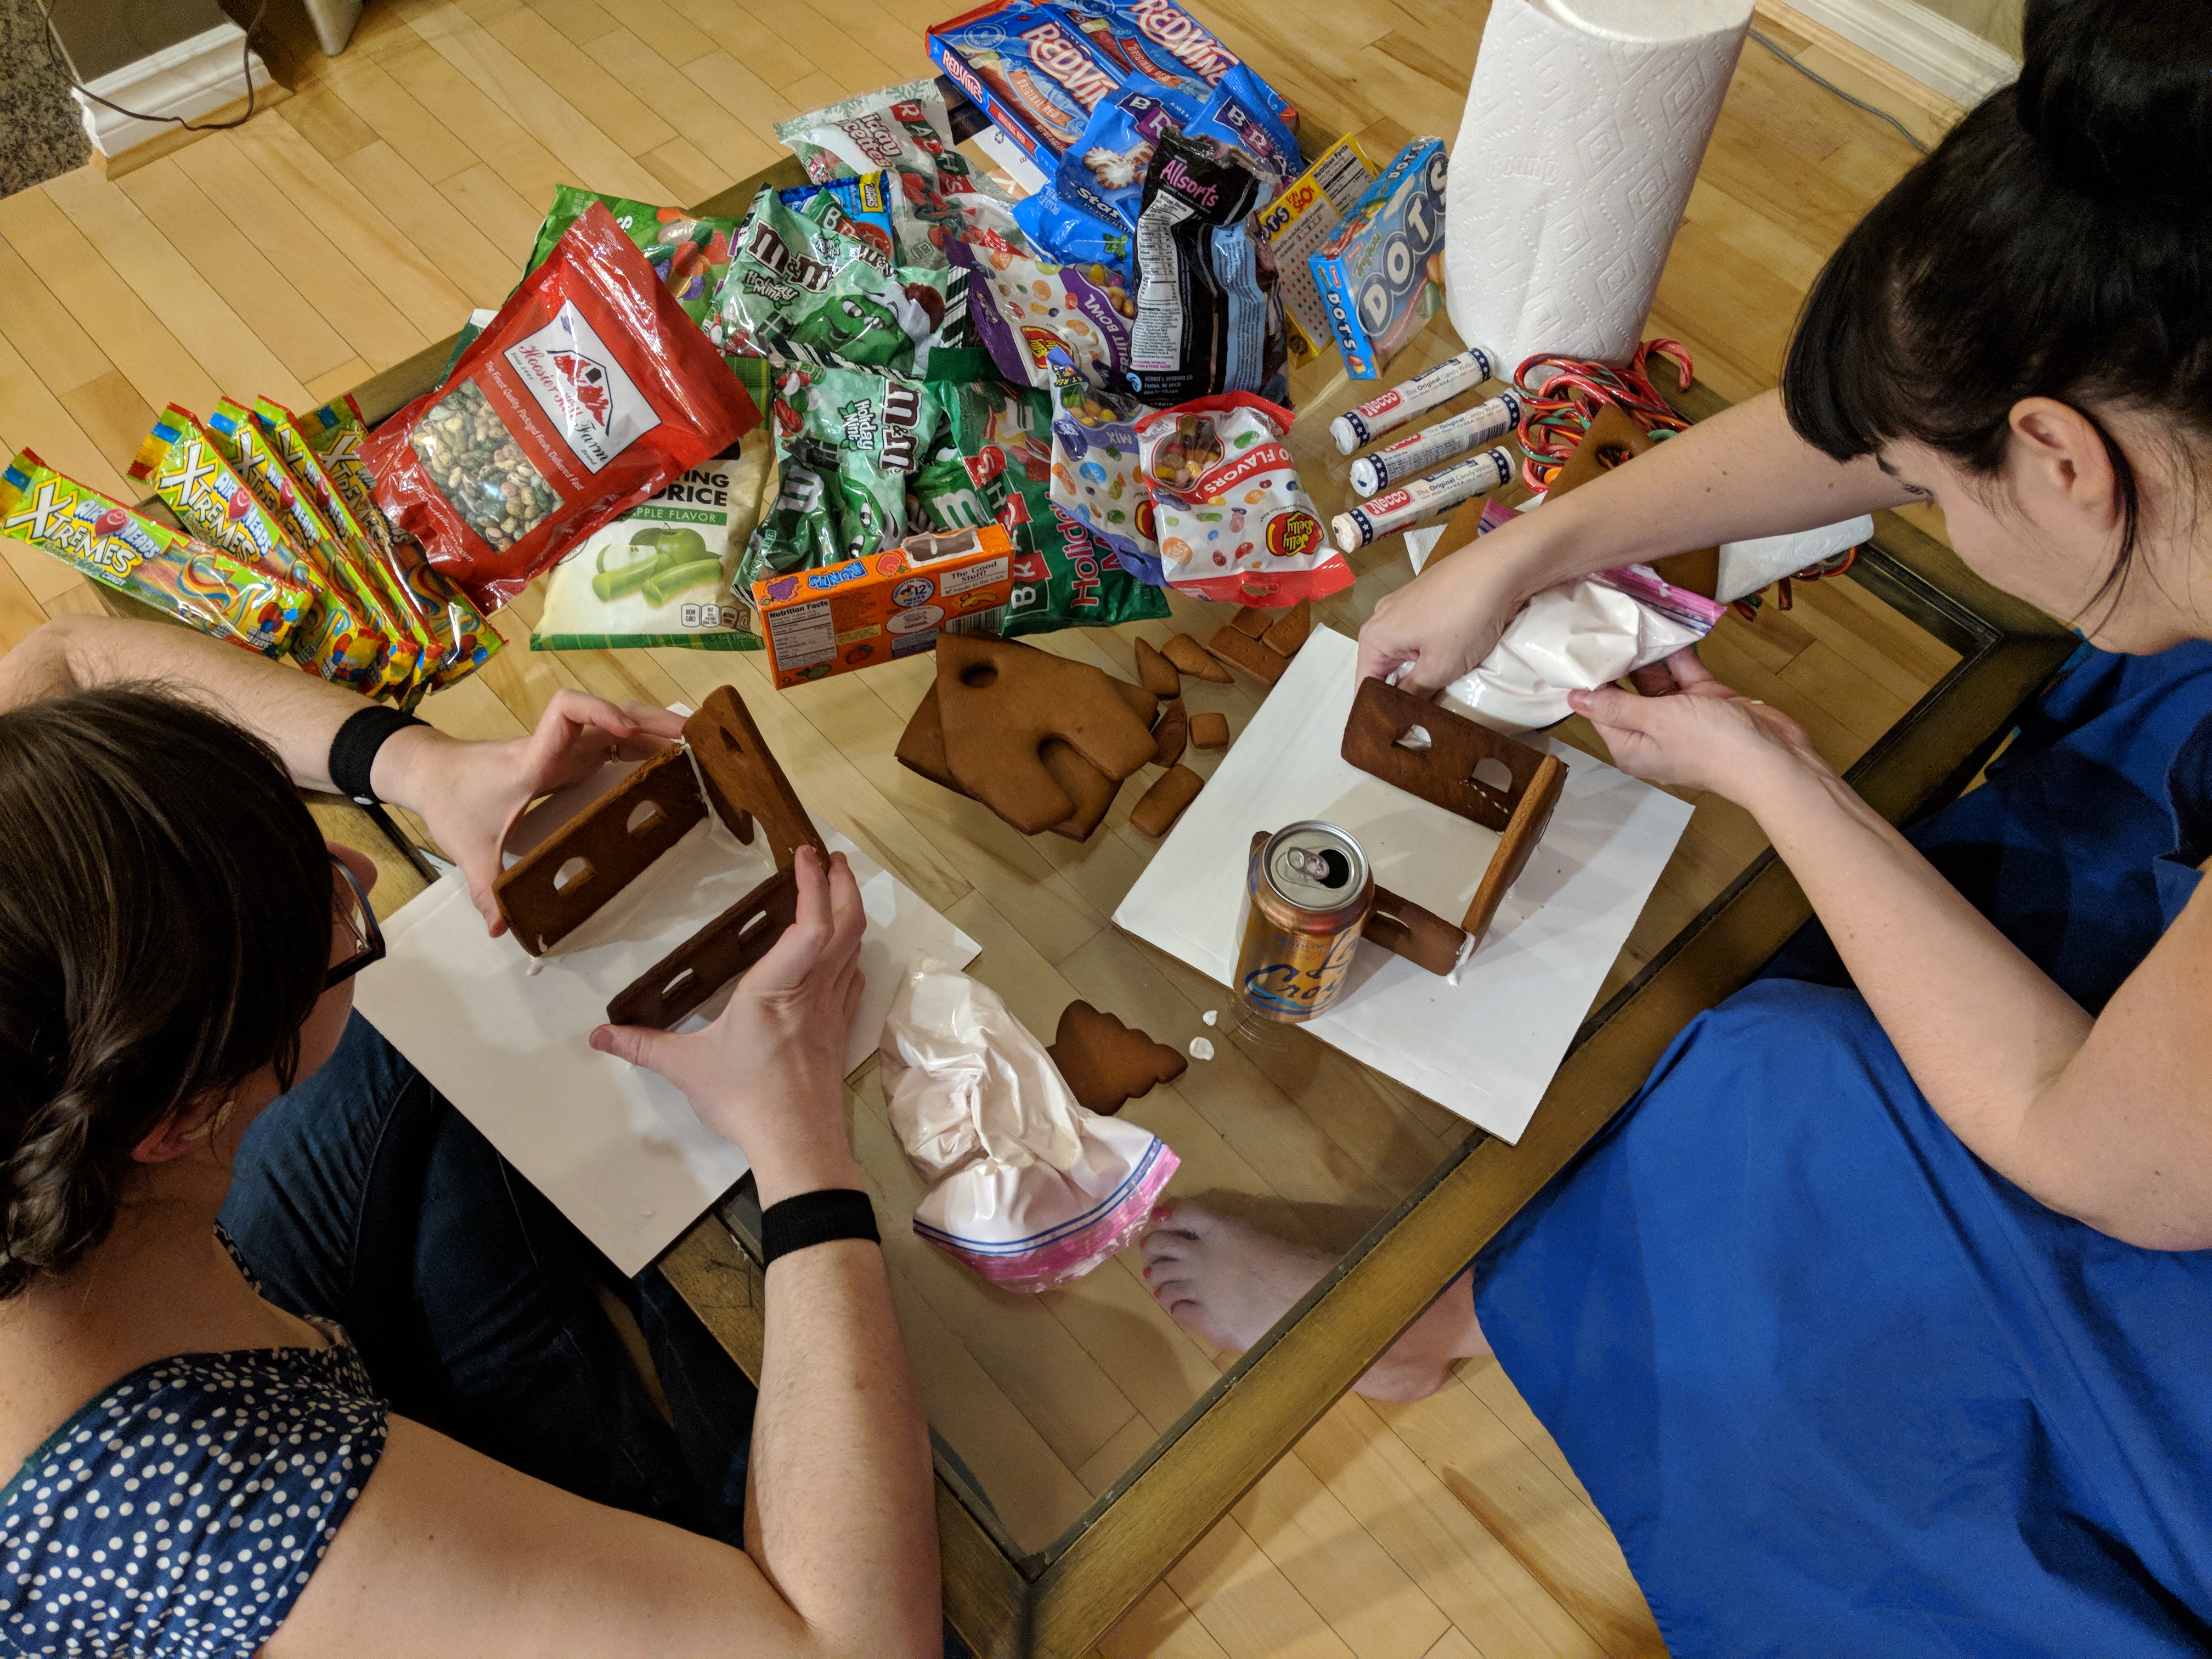
Next, Liesl and our friend Kate assembled the baked pieces using frosting as mortar, and decorating it using a thousand different kinds of candy they’d bought.
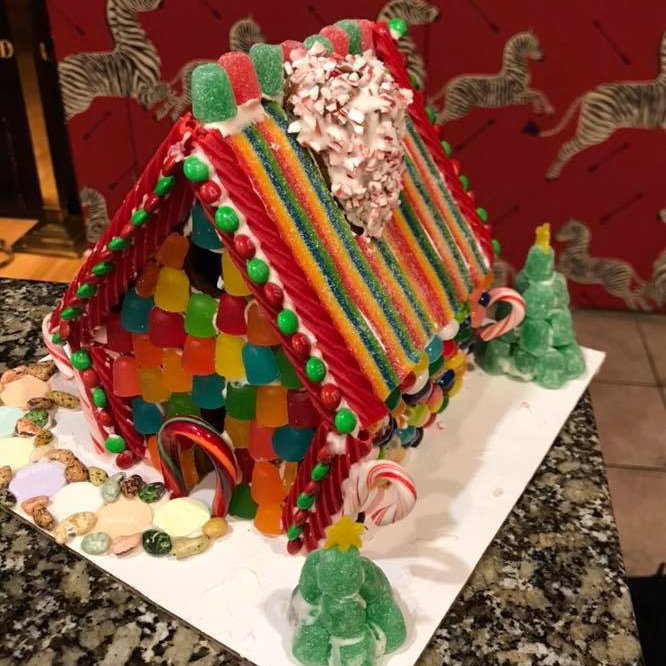
Success! The final gingerbread houses came out great.

Sketch to Cookie Cutter: Step-by-Step Instructions
The steps below describe my technique for using FreeCAD to change an arbitrary sketch into an extruded cookie cutter. The goal is to use the same sketch to create both the cutter blade (which is narrow and tall) and a base where you can press the cutter with your fingers (which is wide and short).
You can follow the steps below in FreeCAD from scratch, or download my template FreeCAD file where I’ve already performed these steps, and modify the sketch to your liking.
In the steps below, there’s just a single sketch. It’s called Cutter Outline, and since I reference it frequently I’ll just call it CO for short. We’ll build that sketch up into a document tree that looks like the one on the right.

-
Create a sketch with your desired cookie cutter shape:
-
In the Sketcher workspace, create a new sketch in the XY plane.
-
Draw your shape of choice. Ensure it’s a single connected component. Name this sketch “Cutter Outline”.
-
-
Create the cutter blade:
-
Select CO, choose Part -> 2D offset. Offset the outline by 0.8 mm. Name the resulting wire “Blade - Outer Outline”.
-
Select both CO and “Blade-Outer Outline” in the document tree, choose Part->Make Face from Wires. Name the resulting face “Cutter Profile”.
-
Select Cutter Profile, select Part->Extrude, extrude it -15mm. Name the resulting solid “Cutter”.
-
-
Create the base:
-
Select CO, choose Part->2D offset. Offset by 7mm, name this “Base - Outer Outline”.
-
Select CO, choose Part->2D offset. Offset by -1mm, name this “Base - Inner Outline”.
-
Select both “Base - Outer Outline” and “Base - Inner Outline”; choose Part->Make Face from Wires. Name the resulting face “Base Profile”.
-
Select Base Profile, choose Part->Extrude, extrude it -2mm. Name the resulting solid “Base”.
-
-
Create the final part:
- Select both Base and Cutter, select Part->Union (one of the buttons on the toolbar, I don’t think it’s a pull down menu item).
Downloads
If you’d like to make our gingerbread house, all the STL files can be found on my thingiverse page.
To make your own design into a 3D-printed cookie cutters using FreeCAD, here is a template FreeCAD file that can be easily modified. This file is an example using all the steps in the previous section. To create a cutter of your own design, just open the file in FreeCAD, double-click on the “Cutter Outline” sketch, delete the lines already there, and draw your own. When you close the sketch editor, your sketch should be magically converted into a three-dimensional cookie cutter! Make sure all your lines form a single connected component.